Table of Contents
- Core Stability Training for Rehabilitation: What the Evidence Actually Supports
- Core Stability vs Core Strength: Why the Difference Decides Your Recovery
- How Core Stability Training Compares With General Strength, Mobility and Aerobic Exercise
- Core Stability Exercises for Back Pain: A Graded Progression
- When to Start Core Exercises After Injury
- Return to Activity: Progressing Load Without Setting Yourself Back
- Safety, Contraindications and When to Seek Clinical Assessment
- Frequently Asked Questions
Last Updated: October 19, 2026
Core Stability Training for Rehabilitation: What the Evidence Actually Supports
Core stability training is worth it for injury recovery, but only when it is treated as one part of a graded rehabilitation program rather than a cure on its own.
The case for core stability training rests on how the trunk works. Your deep abdominal muscles, pelvic floor, diaphragm and spinal stabilisers coordinate to protect the spine while your arms and legs move. When that coordination breaks down after injury, the spine loses support exactly when it needs it most.
What the evidence supports is modest but real. General exercise is well established as first-line care for most musculoskeletal pain, and the Australian Commission on Safety and Quality in Health Care has highlighted how important it is to match care to the person. Core work adds precision to that general exercise. It does not replace it.
Core stability training earns its place in recovery when it improves movement control, not when it simply adds more exercises. Quality of activation beats quantity of repetitions.
Core Stability vs Core Strength: Why the Difference Decides Your Recovery
The difference matters because they solve different problems. Core strength is how much force your trunk muscles can produce. Core stability is your ability to hold the spine and pelvis steady while you breathe and move.
You can be strong and still unstable. Plenty of people can deadlift respectable weight and still round their lower back when they bend to pick up a sock.
Recovery usually needs stability first. Once control is reliable, strength training gives the system something to control. Get the order wrong and you reinforce compensation patterns under load.
- Stability: timing, coordination and control under low load
- Strength: force production once control is dependable
- Mobility: range of motion the stable joint can safely use
How Core Stability Training Compares With General Strength, Mobility and Aerobic Exercise
Core stability training is not superior to general exercise for recovery, and it is not a substitute for it. Think of it as the control layer that sits on top of strength, mobility and aerobic work.
Aerobic exercise supports tissue healing and pain modulation. Mobility work restores range. Strength training rebuilds load tolerance. Core stability training makes sure the spine is organised while all three happen.
What most guides miss is that the comparison is not either-or. The World Health Organization physical activity guidance is clear that regular movement of all kinds supports health, and rehabilitation should reflect that breadth rather than narrowing to one modality.
If you only have twenty minutes, spend five on breathing and control, ten on general strength or aerobic work, and five on mobility. That split covers more ground than twenty minutes of crunches.
Core Stability Exercises for Back Pain: A Graded Progression
Core stability exercises for back pain should start with breathing and control, then add load only when the previous stage is clean. The progression below is one approach, but the key point most guides skip is that the same five stages look different depending on what you are recovering from. A low-back strain, an ankle sprain and post-operative abdominal recovery all need control first, they just need different entry points and different exit criteria.
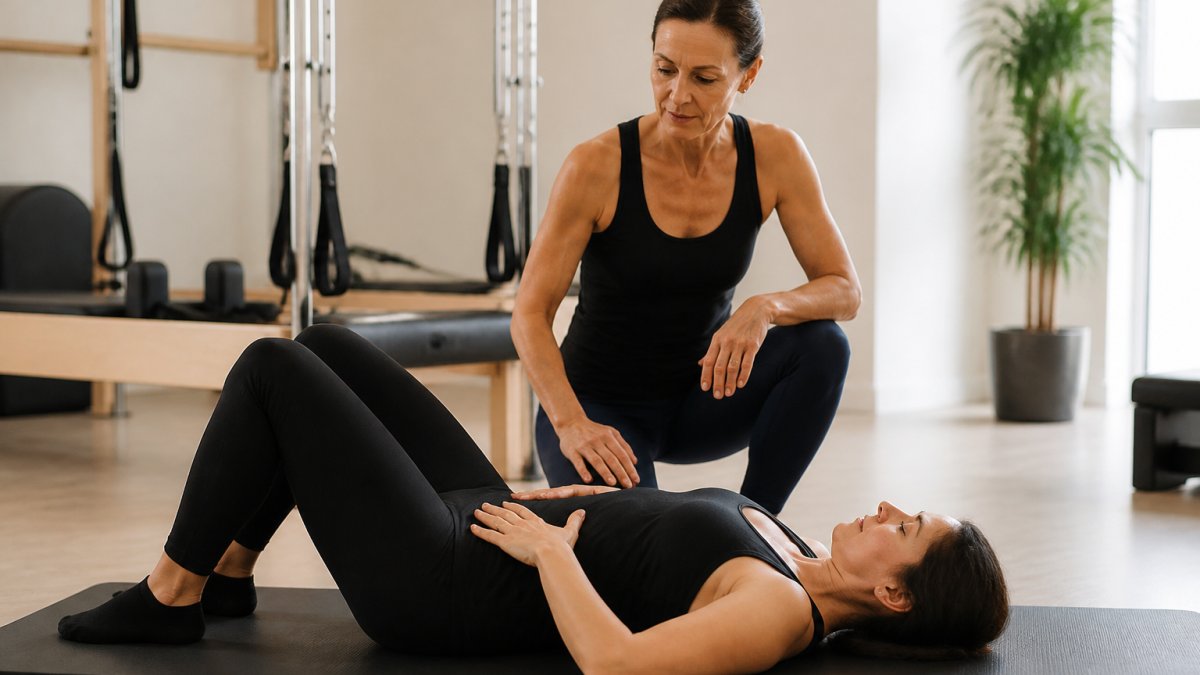
- Breathing with rib expansion. Lie on your back, hands on the lower ribs. Breathe into the ribs, not the upper chest. Two minutes daily.
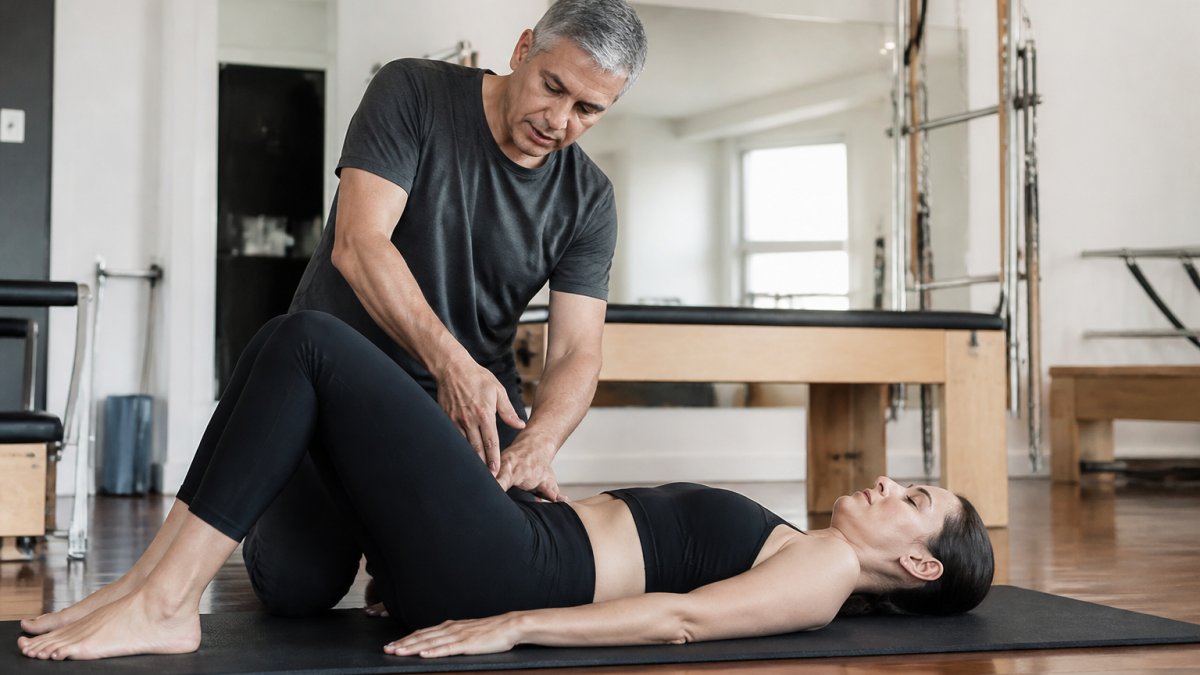
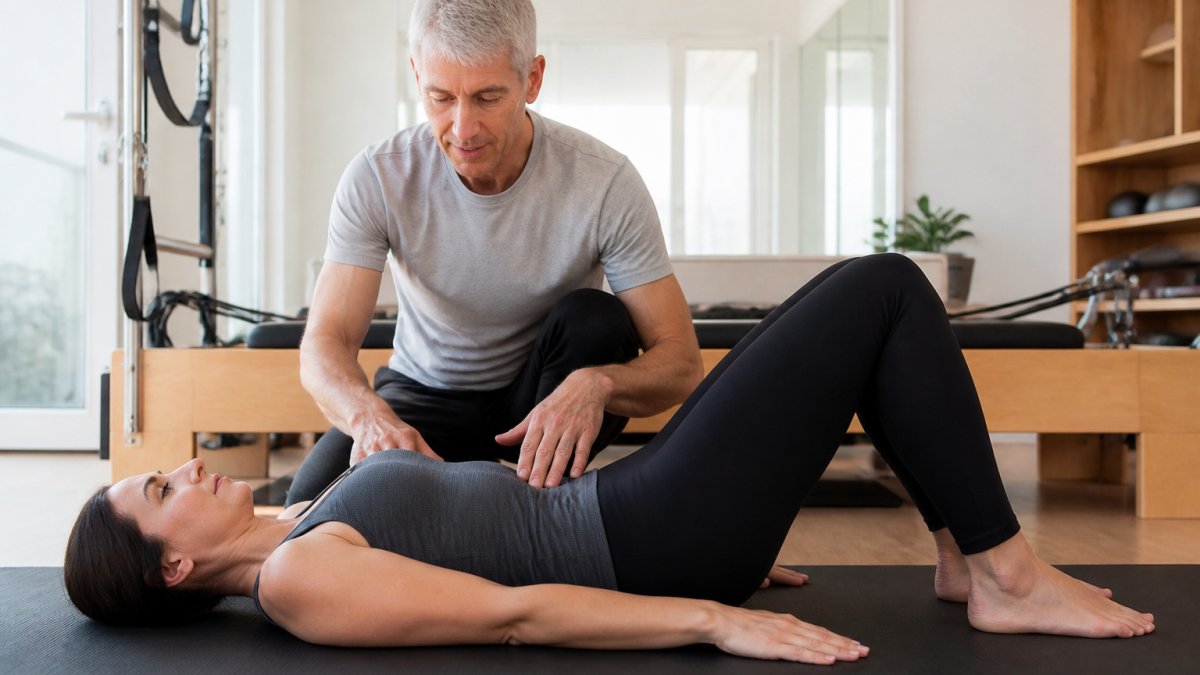
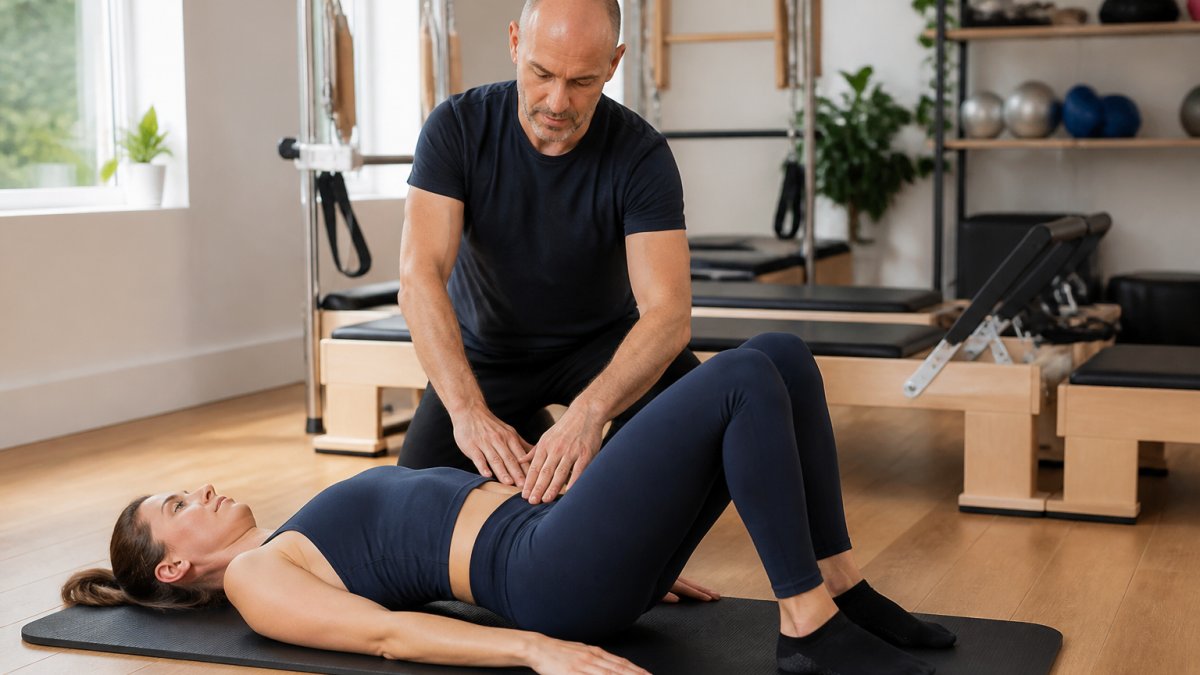
- B-Line activation. Find the midpoint between the two front hip bones, below the navel. Gently activate that area without sucking in. Hold five seconds, ten times.
- Leg lowering with control. Move one leg away while the pelvis stays level. Stop the moment it shifts.
- Hip hinge. Bend from the hips with a long spine. Practise until it feels automatic.
- Loaded carry. Walk with a weight in one hand, staying upright and breathing normally.
| Stage | Focus | Typical Duration | Move On When |
|---|---|---|---|
| 1 | Breathing and activation | 1-2 weeks | Ribs expand, no breath-holding |
| 2 | Control under low load | 2-4 weeks | Pelvis stays level through 10 clean repetitions |
| 3 | Strength and load | 4-8 weeks | No pain during or in the 24 hours after |
| 4 | Return to activity | Ongoing | Confident with daily tasks and one sport-specific drill |
Adapting the progression to the injury
Low-back pain. Start at stage 1 and stay there longer than feels necessary. The most common relapse we see is someone who can brace well but cannot breathe while bracing, so they hold their breath under load and flare.
Ankle sprain and lower-limb injury. The trunk compensates for a unstable ankle by leaning and rotating, so single-leg stance and loaded carry (stages 3 and 4) matter more than leg lowering.
Post-operative recovery, including abdominal surgery. Follow the treating surgeon’s restrictions first, they override any progression here. Where clearance allows, breathing and gentle B-Line activation usually come before leg lowering, and loaded carry comes last because it raises intra-abdominal pressure.
Hip and shoulder pain. These often present as a control problem elsewhere in the chain. Screen the trunk before assuming the joint is the whole story. (Source: World Health Organization physical activity guidance)
Use the 24-hour rule as your real progression test. If a stage produces no pain during the exercise and none the next morning, you have earned the next stage. If it flares, drop back one level for a week rather than stopping altogether.
What ‘worth it’ looks like in numbers
You do not need a laboratory to track progress. Three simple measures can help you assess whether the work is paying off: how many consecutive clean repetitions you can do at each stage, whether you can complete a loaded carry for 30 seconds without leaning, and whether your pain-free walking time is increasing week on week. If those three are flat after four to six weeks of consistent practice, the programme may need changing, not more repetitions of the same thing.
When to Start Core Exercises After Injury
Start core exercises after injury once sharp pain has settled and you can breathe and move without guarding, usually within days for minor strains but only after clinical clearance for more serious injuries. Earlier is not better if control is poor.
The healthdirect Australia guidance on back pain notes that staying active generally aids recovery, but the type and timing of activity should suit the injury.
Red flags that mean wait and get assessed:
BOOK YOUR FREE 15 MINUTE CONSULTATION →
- Numbness, tingling or weakness in a limb
- Pain that wakes you at night
- Pain after a fall or trauma
- Fever alongside back pain
Return to Activity: Progressing Load Without Setting Yourself Back
Progress load by adding one variable at a time, and only when the current level produces no pain during or in the 24 hours after. That rule alone prevents most setbacks. What most recovery guides leave out is what ‘return to activity’ actually looks like step by step, and how you know you are ready for the next step rather than guessing.
Work through this sequence: control, then duration, then resistance, then speed. If a stage flares, drop back one level for a week and rebuild.
A staged return-to-activity pathway
Stage 1, Daily movement. Walk, sit, stand and bend without guarding. You are ready to progress when you can do a full day of normal activity with no increase in symptoms the next morning.
Stage 2, Controlled loading. Add the core progression above and light general strength work. You are ready to progress when you can complete two consecutive sessions with no flare in the 24 hours after either one.
Stage 3, Sport-specific drills. Introduce the movements your activity demands, running, changing direction, lifting, throwing, at reduced speed and volume. Progress when the drill feels controlled and symptoms stay stable for a week.
Stage 4, Full return. Resume normal training or sport, but keep one variable reduced (usually volume) for the first two to three weeks.
The most common mistake we see is adding weight and range at the same time. When pain returns, you cannot tell which change caused it, so you cannot fix it. Change one thing, wait 24 hours, then decide.
Criteria for returning to sport or daily activity
Use these as a checklist rather than a single test. You are ready to return when most of them are true:
- No pain at rest and no pain with the specific movement that caused the injury
- Full or near-full range of motion compared with the uninjured side
- The core progression completed cleanly at stage 3 for at least two weeks
- Confidence in the movement, hesitation and guarding are themselves a risk factor
- A plan for the first two weeks back, with volume reduced and a clear rule for what to do if symptoms return
If you cannot tick most of these, you are not being cautious by waiting, you are being sensible. Returning early and re-injuring typically costs more time than one extra week of preparation.
When to stop and get assessed
Pause the progression and seek a clinical assessment if pain worsens across two consecutive sessions, if you develop numbness, tingling or weakness, if a joint gives way, or if swelling returns after activity. These are signs the load is beyond what the tissue can currently tolerate, not signs you need to try harder.
Safety, Contraindications and When to Seek Clinical Assessment
Core stability training is generally low risk, but it is not appropriate for everyone without screening. See a qualified professional before starting if you have unexplained symptoms, a diagnosed condition affecting the spine, or pain that has not improved after a few weeks.
We are Pilates educators, not diagnosticians. A movement assessment can show where control breaks down, and the Menezes Method uses individual assessment and personalised exercise selection for exactly that reason. It does not replace medical advice.
Realistic expectations help here. Most people notice better movement control within weeks, and meaningful pain reduction often takes longer. As Zang Angi, one of our clients, described, they felt noticeably stronger with reduced lower back pain after three months of consistent work.
Frequently Asked Questions
Is core stability training effective for injury recovery?
It can be, but it works best as part of a broader program rather than on its own. Research on low back pain generally shows core stability training produces similar pain and function improvements to general exercise, not dramatically better ones. What matters most is that the training is graded, consistent and matched to your stage of healing. Core stability training earns its place when it teaches control you can carry into daily movement, and it is worth combining with strength, mobility and aerobic work rather than replacing them.
Can core stability exercises make an injury worse?
They can aggravate symptoms if you start too hard, hold your breath, or push through sharp pain. Warning signs include pain that increases during the session, symptoms travelling further down a limb, or next-day soreness that lingers beyond 24 to 48 hours. Start with low-load control drills, keep breathing normal, and stop any exercise that produces radiating pain, numbness or tingling. If symptoms persist or worsen, have a qualified health professional assess you before continuing.
When should you start core exercises after an injury?
Timing depends on the injury and should be guided by your treating practitioner. As a general guide, gentle breathing and low-load activation drills are often introduced once acute pain is settling and you can move without a flare-up. More demanding loading, such as carries and rotational work, comes later. If you have had surgery, a fracture, or significant radiating symptoms, get clearance first. Progress by tolerating a stage comfortably for several sessions before adding load or complexity.
How often should you do core stability training during recovery?
Short, frequent sessions usually work better than long, occasional ones. Many rehabilitation programs use brief control sessions most days, with one or two rest days, plus a separate strength component two to three times weekly. Quality matters more than volume: five controlled repetitions with normal breathing beat twenty rushed ones. Track how you feel the next day and adjust. If soreness consistently lasts beyond 48 hours, you are progressing too quickly.
Recovering from injury is rarely about finding one perfect exercise. It is about rebuilding control, then strength, then confidence in that order. If you want a program built around your own movement patterns rather than a generic class, the Menezes Method offers individual assessment, the B-Line cue for precise lower abdominal activation, and the Stable Spine approach to spinal control. Book your free 15 minute consultation and find out where your control actually breaks down.